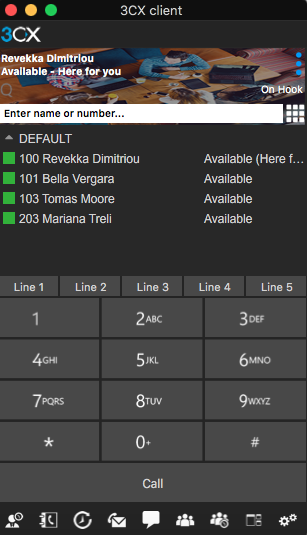
Installing the 3CX Client for Mac
Introduction
The 3CX Client for Mac allows you to manage and oversee telephone calls directly from your computer and subsequently allows you to work remotely and manage calls through the client interface. The 3CX Client for Mac boosts multiple features and provides you the ability to namely; launch and transfer calls, create audio and video conferences, view the availability of colleagues within their organisation, and of course, work remotely.
 System Requirements
Installing 3CX client for Mac
- Download the latest version of 3CX Client for Mac.
- Open the Setup Wizard to begin the installation.
- In the window that opens, drag 3CXPhone15.app to your Applications folder.
- Start the 3CX Client by entering “3CXPhone” in Spotlight Search and pressing “Enter” or opening the client from the Applications folder.
- The client will appear as “Not Connected”. In order to assign your account to the client, you have to run the configuration.
- Open the configuration file attached to your 3CX Welcome Email. This email was sent to you when your extension was created. If you cannot find it, ask your administrator to resend it. Once configuration is complete, you will see the Available status in the upper left corner and On Hook in the dial screen. You can now start making calls.
- Unmount the 3CXPhone disk image on your Desktop by dragging it to the “Eject” icon in the Dock. Make sure you are dragging the disk image and not the 3CXPhone application.
Settings
Once the installation and configuration is complete, you can personalize your 3CX client. In this section, you will learn how to set your audio and video options, change the language or even select the behaviour of the client by clicking on the “Settings”  button. Let’s have a closer look at the options provided below:
- Behavior: From this tab you can set your client’s behavior as well as the External Application.
- Prevents computer from going to sleep.
- Always steal focus on incoming calls.
- Auto Answer: When enabled, incoming calls will be automatically answered by the client.
- Profile Status: If enabled, your status will be changed automatically after the time period you set.
- Call Forwarding: Configure your forwarding rules. For more information and details read the Forwarding Rules chapter.
- Audio: From here you can specify your audio devices and their volume as well as the Chat notification.
- Microphone
- Speaker
- Ringing
- Advanced Settings
- Local SIP Port: Default is 5075. If you would like to change this contact your administrator.
- First RTP Port: Default is 40000. If you would like to change this contact your administrator.
- External Application: This option is used to enable and control communication between the 3CX Client and 3rd party applications. Find out more on 3CX Application Partners.
- Accounts: From within this option, you can select which extension you are going to use (active) in case you have more than one provisioned. Double click on the account in order to access the account details, Advanced Settings and Audio Codecs. IMPORTANT: Do not modify these settings unless you are advised to do so by your administrator.
- Preferences
- Select Language: Select one of the 16 languages in which your 3CX Client interface will be displayed. The application must be restarted for the changes to take affect.
- Application Theme: You can select your application theme between black or white. Moreover, you can “Set your Custom Image (270x80 pixels)”, to appear on your client. The image is being automatically resized.

Quick Menu
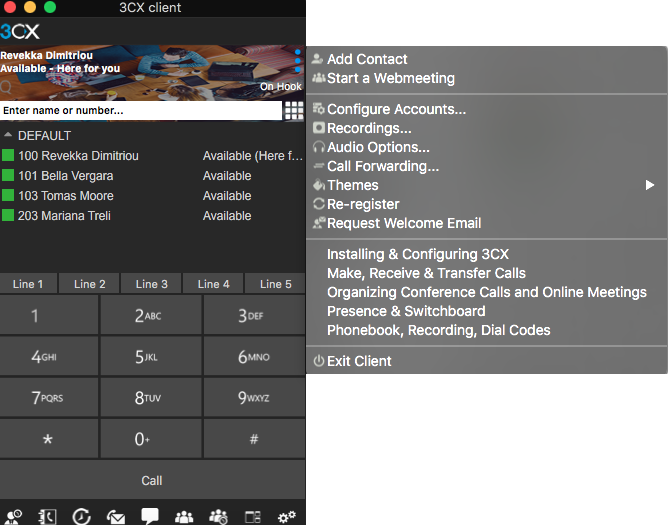
Efficiency is a key ingredient required for any organisation’s smooth operation. The 3CX Client for Mac quickmenu contains all the necessary shortcuts of mostly used features required to maximize your productivity. The available features included cannot be changed nor modified.

All of the above features are extensively covered in the “Settings” section of this document, or in the respective chapters of the User Manual.